In the captivating world of video production, where creativity is blended with technology, there are any number of terms, acronyms, and industry jargon that get thrown around.
For those not well versed in the nuances of the industry, cutting through all the terminology can sometimes feel like deciphering a foreign language. Fear not, for this blog is here to unravel the mysteries of video production terminology, so you know your pan from your tilt and can tell your motion tracking from your compositing!
As with any specialised industry, video production comes with its own unique vocabulary, developed over decades of innovation and evolution. From pre-production planning to final deployment, each phase of the production process is accompanied by its own set of terms and concepts. Sp split between the different phases of production, lets breaks down some of the main terms used.
Pre-Production Planning
The initial phase of video production is all about laying the groundwork for the whole production. The success of any video project is traced back to the work delivered in the pre-production phase. Everything is discussed and agreed in this phase, from the footage to be taken to how it will be used after it is edited. Every detail is pored over to make sure nothing is left to chance.
- Aspect ratio: the proportional relationship between the width and height of the video frame, determining its overall shape.
- B-roll/cutaway footage: is extra footage that provides context and detail to the main video. We use b-roll during interviews to give the viewer a break from the talking head and also to add greater flexibility to the edit.
- DSLR: stands for Digital Single Lens Reflex and is a type of camera. We occasionally use a Panasonic Lumix S5 MKIIX for some of our film work.
- Script: the backbone of any video project, outlining dialogue, actions, and scenes.
- Storyboard: the visual representation of the script, depicting the sequence of shots and scenes.
- Shot list: a comprehensive catalogue of all shots required for the video, specifying details such as camera angles and movements.
A short edit explaining some different aspect ratios
Filming
With the groundwork laid, the production phase commences, where creative vision comes to life through the lens of the camera on the location shoot.
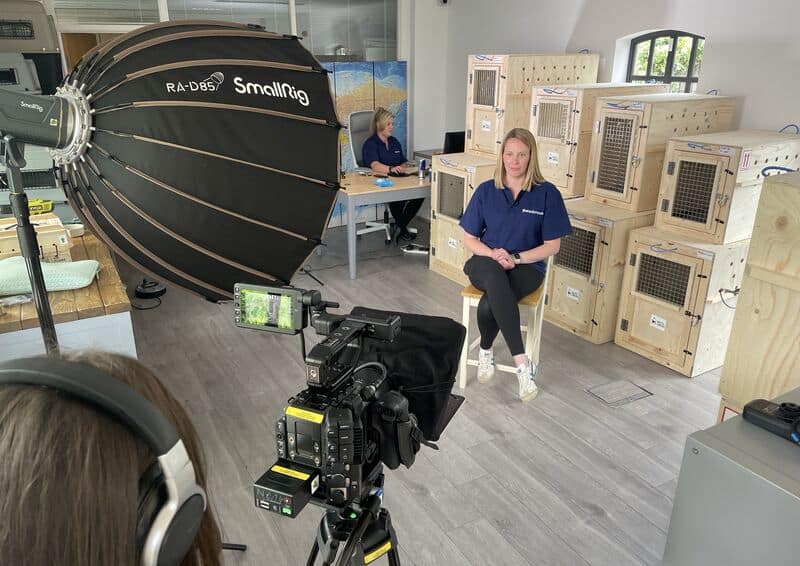
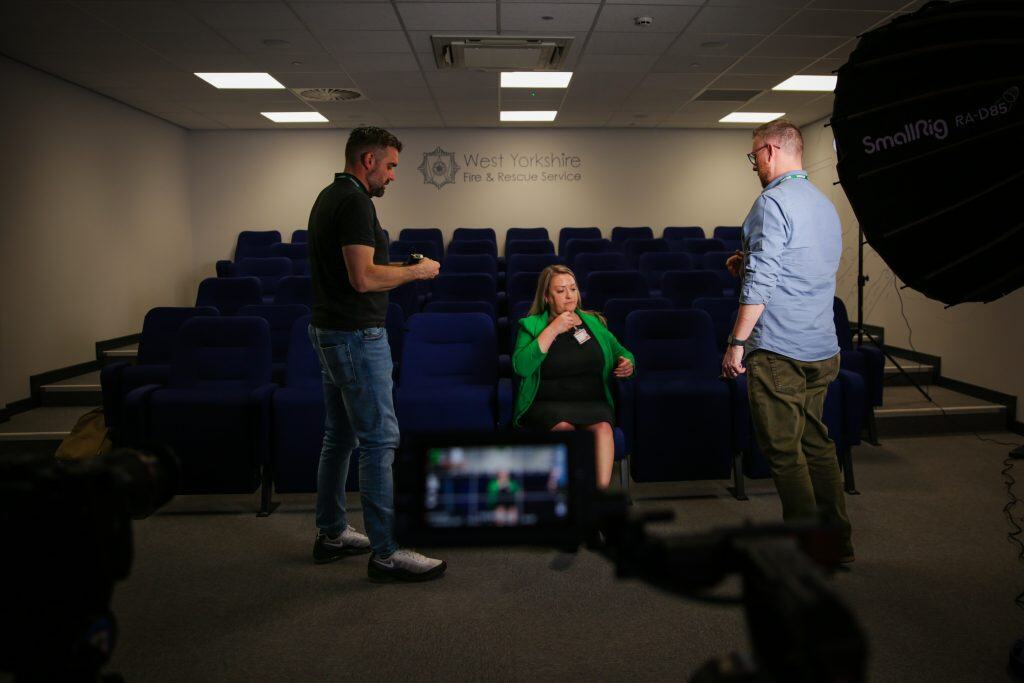
- Boom microphones: these are long mics attached to boom poles in behind the scenes footage or on the news. They are highly directional which means they only pick up sound from the direction they are pointing in.
- Chroma key or green screen: is using a bold, bright colour such as blue or green in recorded footage and then later removing it in post production.
- Close up: this is a shot in which the frame is mostly filled by the subject’s face. They are used to show facial expressions, reactions and help build empathy with the viewer.
- Composition: the artful arrangement of visual elements within the frame, guiding the viewer’s focus and helping to deliver the required narrative.
- Depth of field: this is the range of distance within a scene that appears sharply in focus, influencing the visual depth and clarity of the image – often best explained by having a blurry background behind an interview subject.
- Exposure: this is the control of light entering the camera, determining the brightness and clarity of the image.
- Frame rate: is how many images are captured during one second of video. The most commonly used frame rates are 24, 25, 30, 50 & 60. The higher the frame rate, the smoother the motion – this becomes very important during the capture of slow motion footage.
- Framing: this is the composition of the shot, literally what you can see in the viewfinder and what will e on screen, so framing subjects or objects is important for how you wish them to be viewed in the context of their surroundings.
- Gimbal stabilisers:3 axis gyroscopic supports that cameras can be mounted onto. They use motors to counter the natural motion of the camera operator to create flawless, smooth, hand-held shots.
- ISO: (International Organisation for Standardisation) is a setting on our cameras that changes the light sensitivity. A low ISO would normally be used in daylight and situations with a lot of light, whereas a high ISO may be needed in darker environments. However, the aim is always to be on the lowest possible ISO as it provides the best picture quality – less noise and more sharpness.
- Lens: the optical component of the camera that captures the image, influencing factors such as focal length and perspective. Different lenses have different speeds and other components which determine the quality of the shot.
- Lavalier/Lapel mic: is a small microphone that clips onto the subject’s clothing rather than an overhead mic.
- Memory card: is a form of data storage used to store the digital information on our cameras and these days need to hold extremely high amounts of data.
- Monopod: is a tripod with only ‘one foot’. It’s a lot more mobile than a tripod whilst still providing support and stability for the camera than shooting handheld when filming on the fly.
- Over the shoulder: or OTS shots are framed over the shoulder of a subject, giving a pretty good impression of that persons perspective. It’s useful for filming dialogue scenes as you can see who is talking and who they are talking to.
- POV: stands for Point of View, and is a shot type that goes one step further than OTS by making the camera the eyes of the subject. This means you are put right into the experience of that character and the experience for the viewer is very immersive.
- Pan: this is the horizontal movement of the camera from side to side, capturing a sweeping view of the scene.
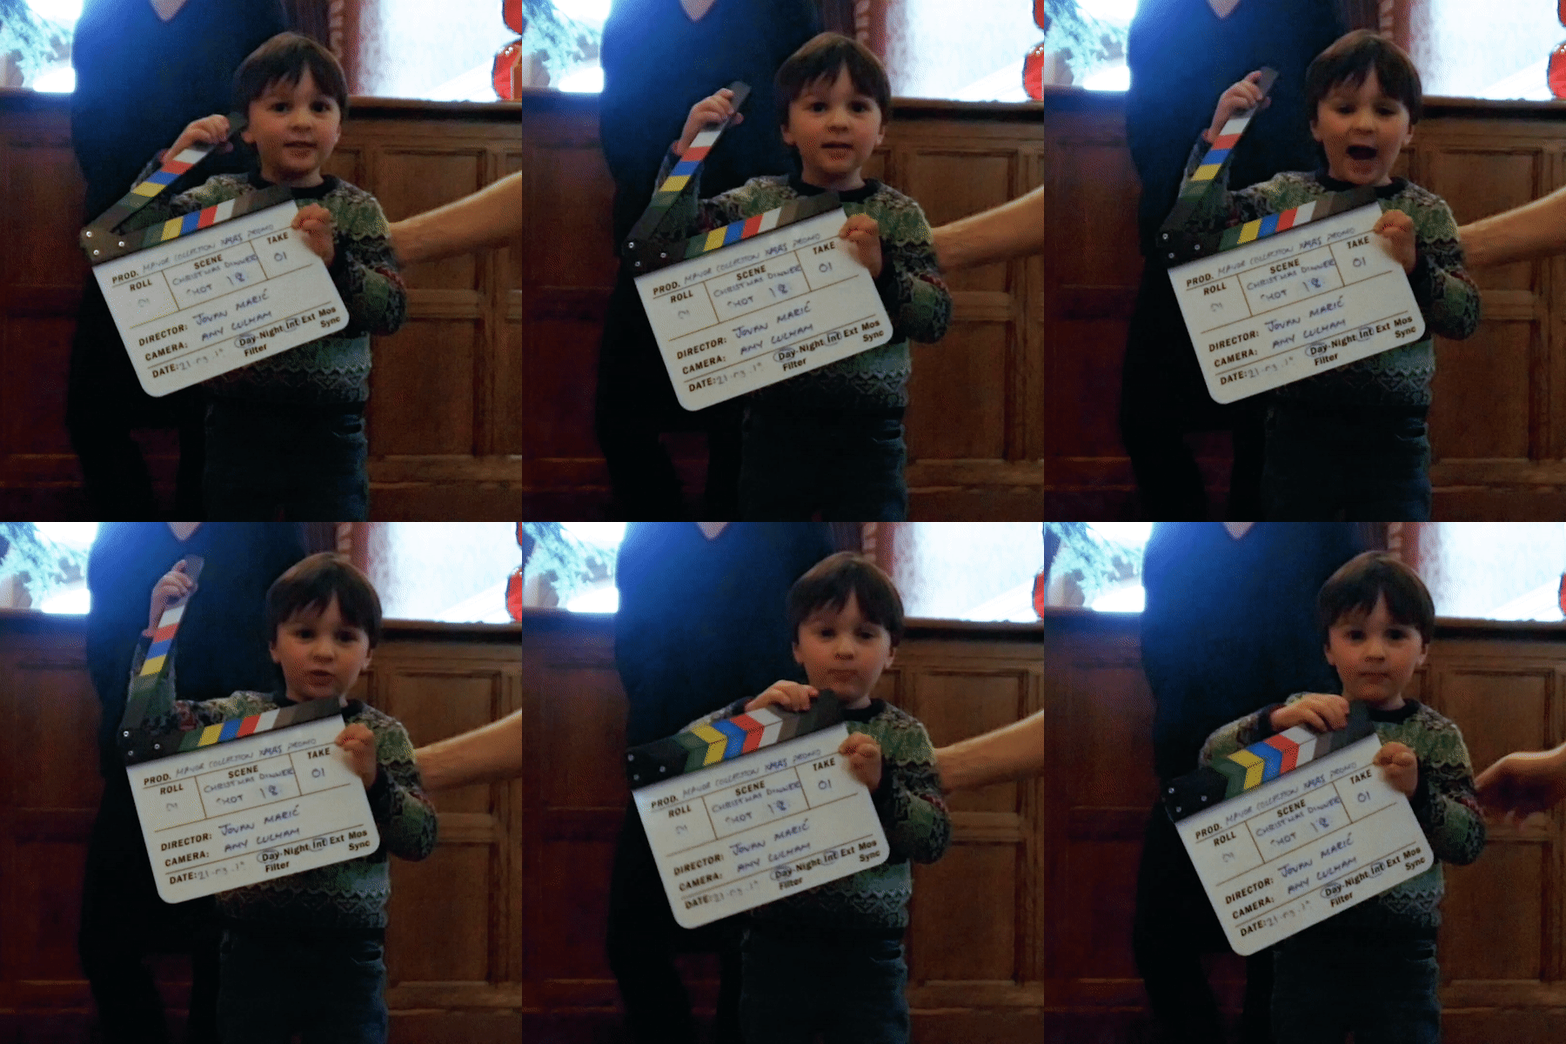
- A Slate: (also known as a clapper board) is something you will have seen on anybehind-the-scenes footage you watch. It is a rectangular board with a hinged clap stick that makes a sharp, loud clapping sound. We use a slate to sync up the audio and video in the post production phase, as often we record the audio onto a separate recording device and not directly into the camera. It also provides a visual cue to the editor so they can see what scene and take the shot is without having to watch it.
- Slider:is a more portable version of a dolly track, the components of are rails and a carriage for the camera. They are engineered for maximum smoothness, and allow smooth camera movements side to side, front to back and pretty much any direction you can rig it safely!
- Slow motion: is the slowing of footage past the natural recorded speed of the movement. Because video footage is made up of a series of images – for example 24 frames per second – if you want to slow something down without it feeling jerky or sluggish you have to shoot at a higher frame rate.


- Stop motion:is atechnique of animations that brings in-animate objects to life– in its simplest form, a photo is taken, the object is moved slightly, another photo is taken and so on.
- Tilt: the vertical movement of the camera, angling the perspective up or down.
- Timelapse: is a technique where each frame in a video is captured at a much slower rate than normal – for example one photo every 1, 2, or 5 seconds. When played back at normal speed, time appears to go by faster. This technique can provide amazing overviews of construction sites where a 3 month process is summarised in a 30 second video.
- Tracking: is a camera movement where the camera physically moves in relation to the subject, meaning that the spatial relationships change between the subject and its surroundings. We can track into a stationary subject or track with a moving subject using a dolly, slider or gimbal.
- Wide angle: is a shot type that frames a scene from a distance, so a person standing outside whole building is in shot opposed to the person from the waist up with only the window of the building in shot.
- White balance: is the process of capturing the correct colours for the available light you are shooting in – think back to colour temperature. It’s about ensuring the colour white is always white in the video footage. Our eyes and brains colour correct automatically, but cameras need a little help.
- Zoom: this is the adjustment of the lens focal length to magnify or reduce the size of the subject within the frame.
Editing / Post Production
Post-production marks the transformative phase of video production, where raw footage is edited and polished to create a final video output, often using a range of techniques and approaches that you would never know happened to make your edit look so amazing!
- After Effects: is a piece of Adobe software that we use when creating animated videos. It’s also great for advanced post production techniques like rotoscoping, motion tracking and chroma keying.
- Animation: describes any video that gives movement and life to inanimate objects, including cartoons, stop-motion, hand-drawn, motion graphics 3D and character animation.
- Colour correction: is the process of correcting the colours in the footage in post production to make them as close to the real environment as possible.
- Colour temperature: is one of the characteristics of visible light – ranging from cool to warm. Cool temperatures appear blueish and feel cold, where as a warm colour temperature has orange hues and gives the impression of heat. Lots of professional lighting kit has an adjustable colour temperature, and you can also adjust this on the camera in the White Balance setting.
- Compositing: is the combination of multiple layers of imagery in post production software. This could be layers of film, or it could comprise of layers of film, vector graphics, text and photographs.
- Cut: the transition between two shots, marking a change in time, location, or perspective within the narrative.
- Editing: is the process of cutting together the footage to create the narrative. The edit is very important as the audience will see the footage that the editor has decided to keep. For example, in a typical corporate video a day of filming will ultimately only be around 2 – 3 minutes of edited footage.
- Export: is the process of turning a specialised video project into a single video file that can be played back in any programme, uploaded online and shared.Grading: The process of color correction and enhancement to achieve the desired visual aesthetic.
- Illustrator (Adobe): is a powerful graphic design software application that we predominately use for asset creation when we produce an animated video. Because it works with vector graphics, we can create art work that scales endlessly – meaning we have flexibility in the animation stage without image degradation or pixelation.
- Importing: is the process of bringing source material into another program. For example, the transfer of footage into editing software, the transfer of assets into After Effects or the transfer of images into Photoshop.
- Motion tracking:is themapping of the movementof a subject in your video, to create a motion path that can be applied to graphics or text so thatthey appear attached to that subject.
- Rotoscoping: is a technique that involves tracing around visual elements from your footage, allowing you to separate them from the background and put layers between them. The term originates from when rotoscope artists created visual effects by drawing on the film, one frame at a time to add something that wasn’t there when the footage was originally filmed.
- Transitions: the visual effects used to smoothly transition between shots or scenes, enhancing continuity and flow.
- Voiceover (VO): this is the narration or commentary added to the video soundtrack, typically recorded separately from the main footage.
Deployment
Once you have your final video output, you then need to follow the plan made in pre-production in order to get it out there in front of your target audience to start generating the ROI.
- Format: the file type and specifications used for exporting the final video, ensuring compatibility and optimal playback quality.
- Resolution: this is the level of detail and clarity of the video image, determined by the number of pixels comprising the frame.
- Compression: the process of reducing file size without significant loss of visual quality, facilitating efficient storage and transmission.
- Codec: the software algorithm used for encoding and decoding video data, enabling efficient compression and playback across different devices and platforms.
- Embed code: this is a sequence of HTML code which will allow you to embed your video on your website without using the actual file which will slow your page speed down, instead the video will play directly from your hosting service such as YouTube, Vimeo or Wistia – like the examples embedded throughout this blog which pull from Vimeo.
Summary
Understanding the terms of video production may seem daunting, but as with any other technical industry it is so important that we have these terms to ensure we know what is happening at every stage of the production. But don’t worry, we tend to use most of this jargon for internal purposes and anything we put into documents or communications for you, we’ll make sure we explain it! Whether it’s your first project or you’re a seasoned pro, we handle everything while keeping you in the loop. So relax and let us bring your vision to life, hassle-free.


